First Bowl Cozy – Black and White Cat Fabric

I sewed my first bowl cozy tonight.

My wife’s friend is here this weekend with us, and last night she wanted a bit of tea. Being that she was sitting between us on the couch she did not have access to an arm rest table, so my wife handed her one of our bowl cozies. She expressed interest in never seeing on before and I said “I CAN MAKE YOU ONE!”

I found this tutorial https://www.lovelyandenough.com/blog/2020/9/bowl-cozy-tutorial and printed the one page PDF with a dart template.

Today I picked up some fun cat pattern fabric and cotton batting from Michael’s, and set to work.
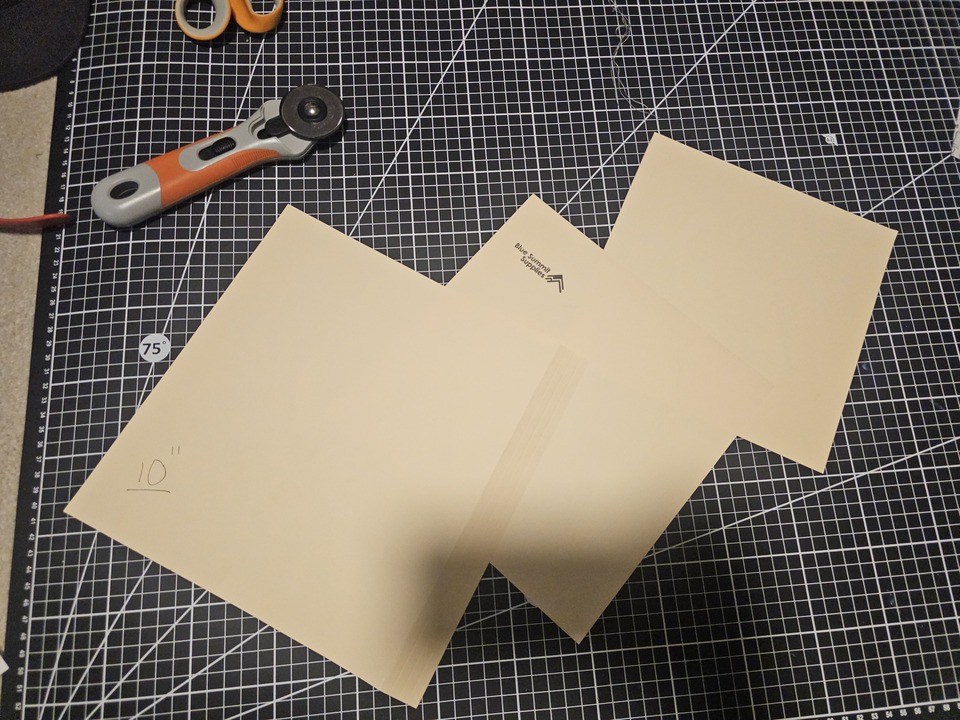
manilla folders cut to 10 9 and 8 square inches, on a flat cutting mat

First I spent a couple minutes making some square templates out of manilla folders, a 10″,9″, and an 8″ (in case I needed one, why not?). I lined the 10″ template up and cut some squares from the cat fabric so I’d have the outer fabric, following that up by 9″ squares of the batting. After that I lined up the fabrics and pinned them so I could mark straight and diagonal lines with chalk to sew the fabric to the batting.
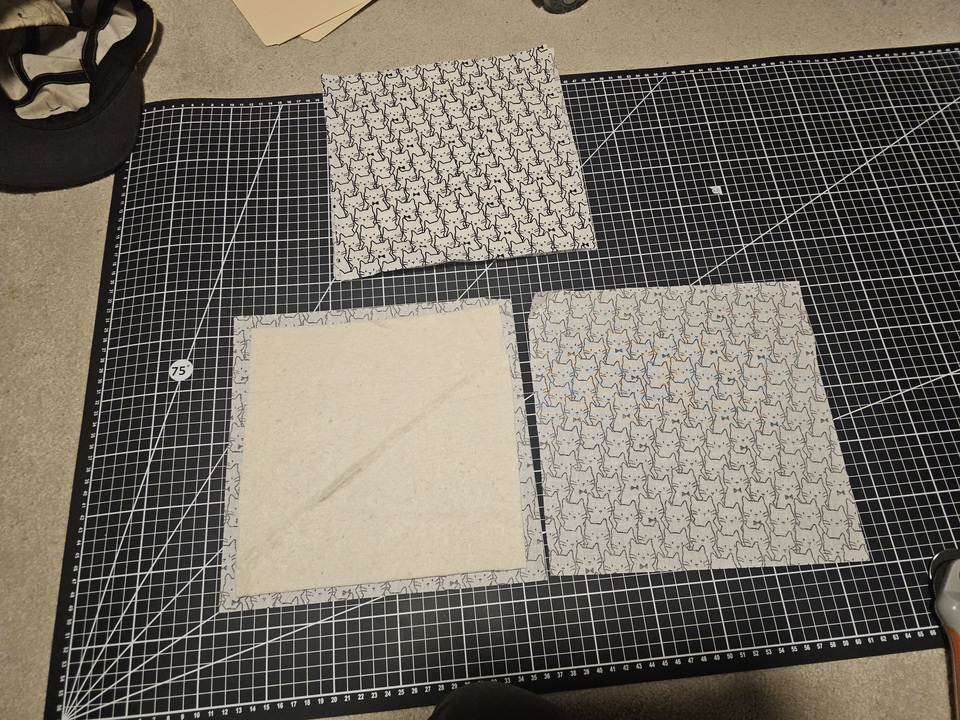
cat fabric and batting in squares lined up on a cutting mat

This was my first time using fabric chalk also, so many firsts today.
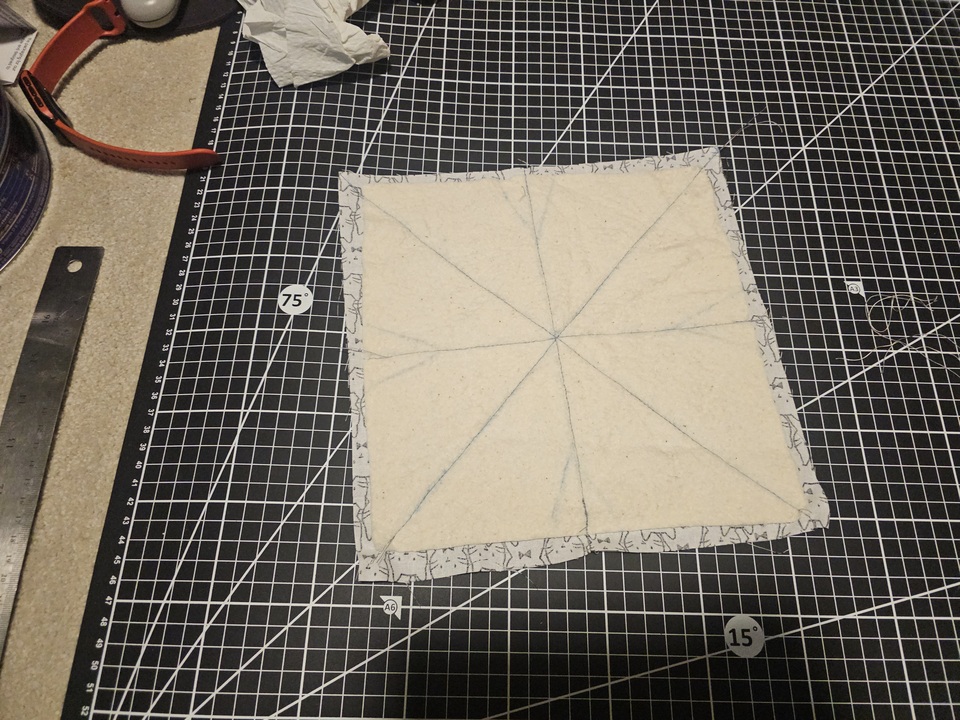
one square of cat fabric and batting sewed together with a cross and diagonals on a cutting mat

After marked and pinned I sewed the fabric, then marked the darts and folded then cut them off. I realized AFTER that I lined up the dart to the edge of the fabric, not the batting, so I might not have removed enough fabric, but next time I make one (I got a LOT of fabric!) I’ll do better.
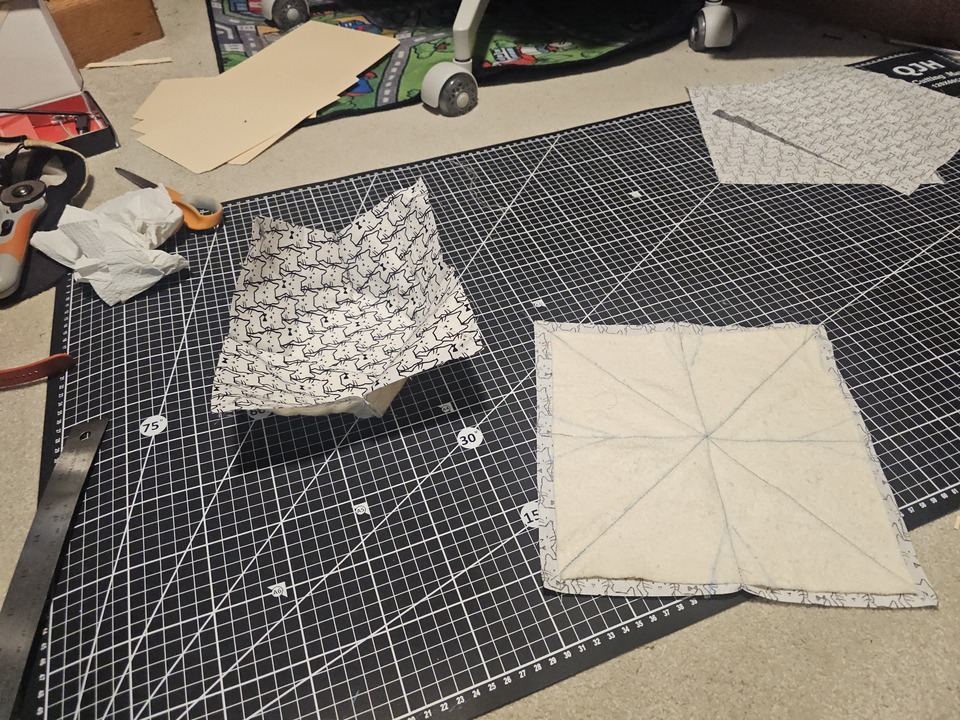
one inverted bowl cozy half - with the darts cut off. next to the remaining half of flat sewed together fabric

I did this twice, and made two halves of fabric, putting them right side together I then matched all the edges and clipped them together.
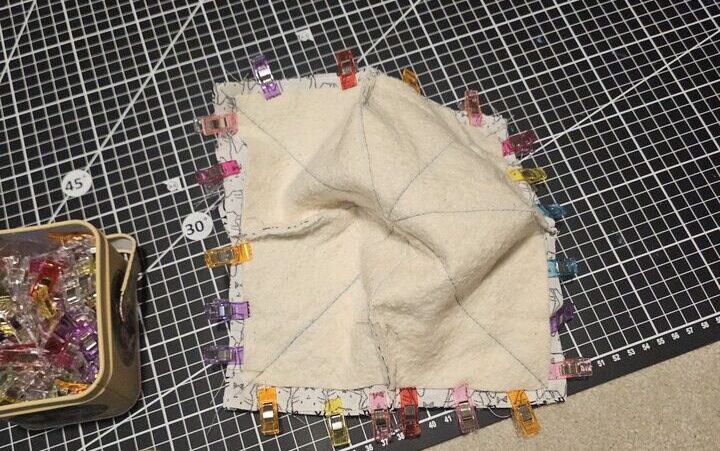
clipped fabric inverted with right sides together, on a cutting mat

Sewing them into one final piece, I then inverted it with a pencil, closed it off and got very excited that I had finally sewed something useful!
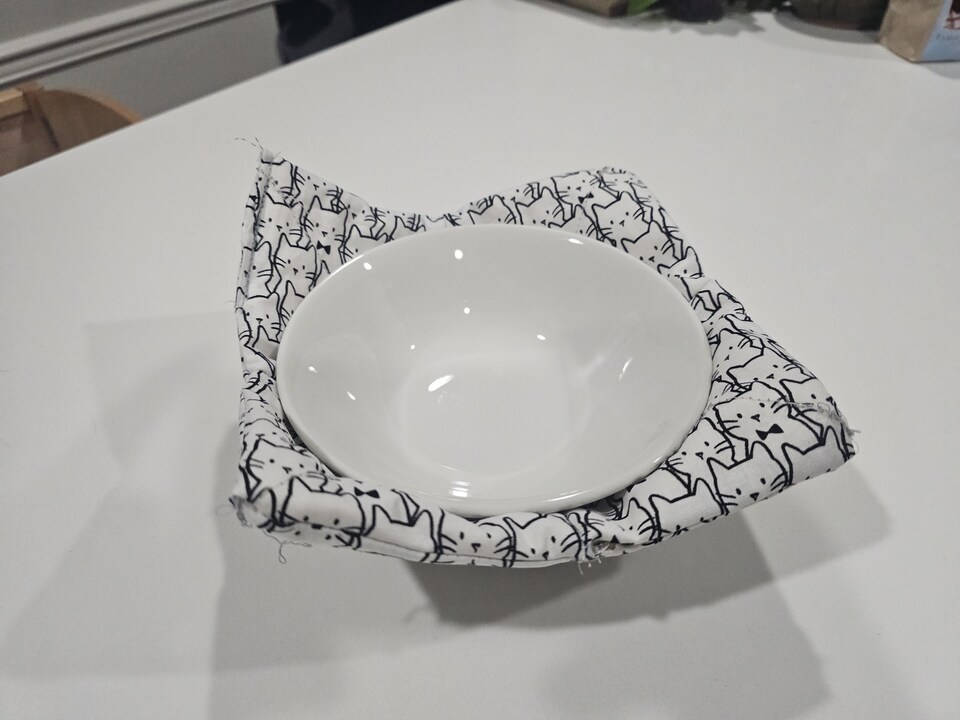
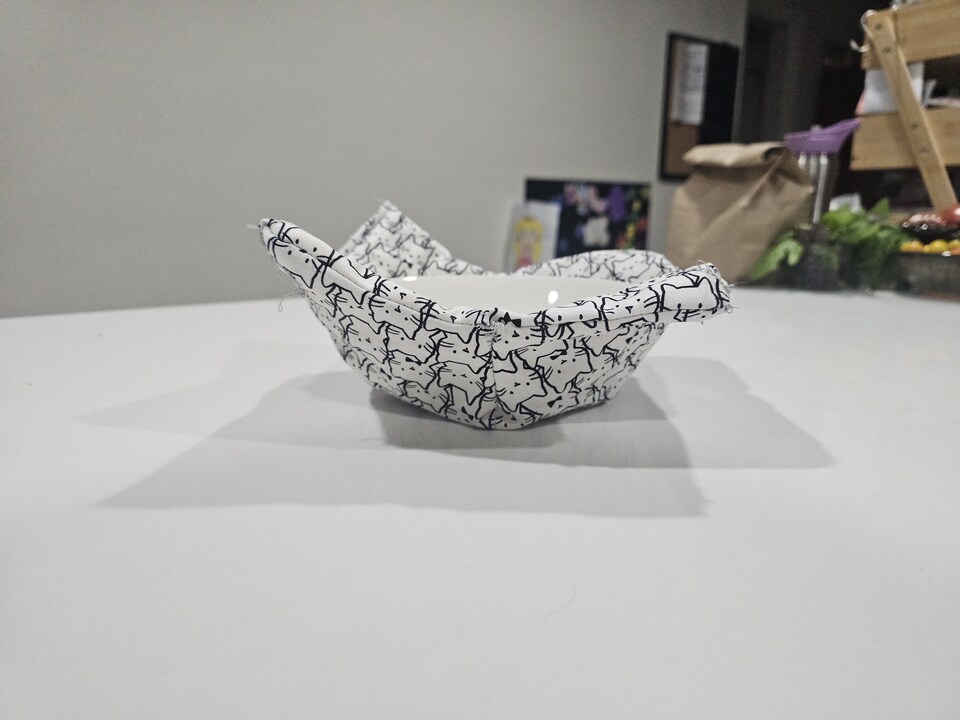
a cat fabric bowl cozy with a white bowl in it, on a white table
a cat fabric bowl cozy with a white bowl in it, on a white table - side profile

I have the material to make a bunch of these and now that I know the basic steps, I can probably make a bunch in a day who knows, maybe this will be my holiday presents this year instead of crocheting things.

Pretty successful evening, and I only cut myself with a roller cutter ONCE!

A Solidworks Journey – Kobalt Saw Detent Housing

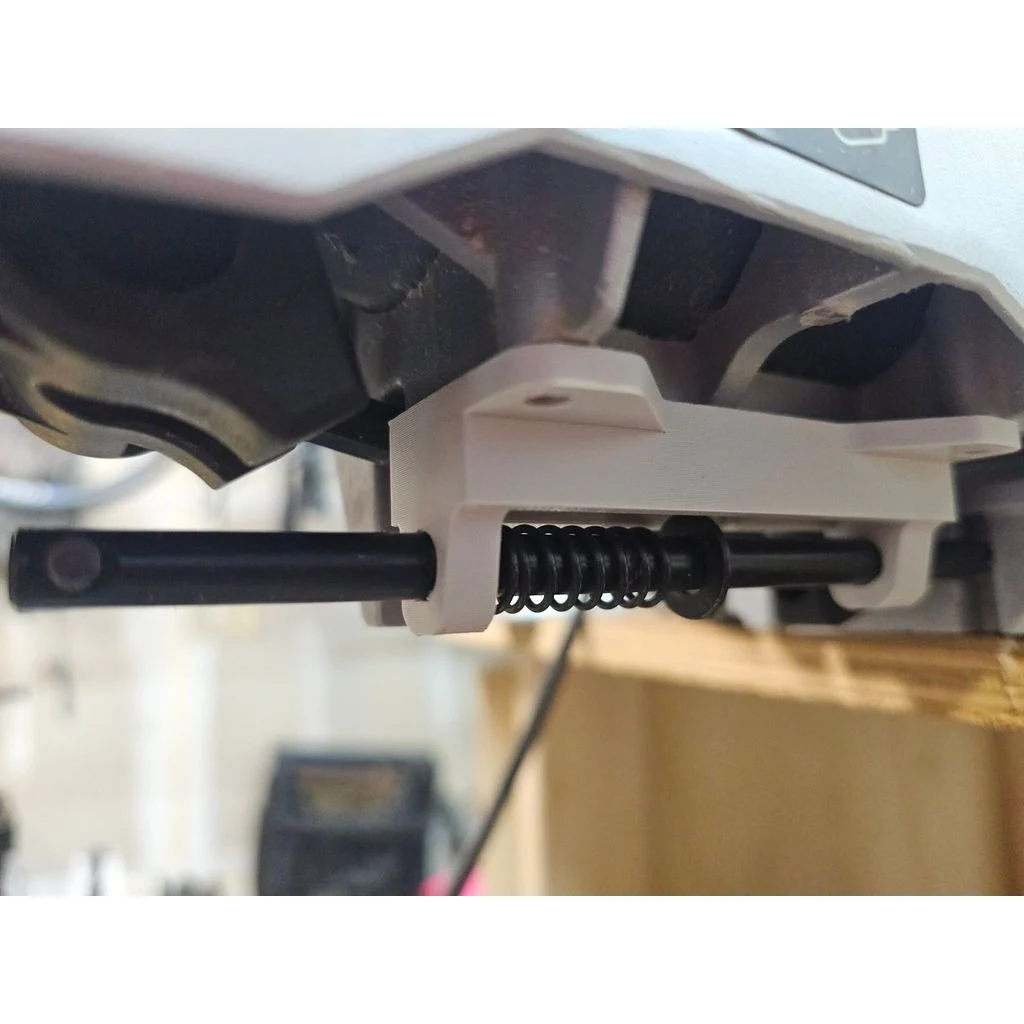
Recently I started taking a CAD course learning Solidworks. I got through all the sketching, and 3d modeling aspects – but haven’t started assemblies. I wanted to learn this because I have a Kobalt saw my friend gave me, but the housing for locking things to angles (45, 33, etc..) broke so the pin slides out.

I spent 15 hours taking the course and when I got to a stage I felt comfortable with, I started modeling the broken piece. It only took me one prototype and one adjustment (holes were too small) before my final piece was printed and I am very satisfied.

Download/Rate on https://www.thingiverse.com/thing:7376501

I definitely feel like I learned a lot more in the two weeks I did the course, than I had in the 30 years I’ve been “Doing CAD”. My father is an engineer and I grew up with him using AutoCAD on Windows 3.1 era. I found myself skipping a lot of instruction on the course because it’s stuff I know already, which always feels good.

This isn’t the first thing I’ve modeled and printed, but it’s the first one on Solidworks that I’m proud to share. I’ve used Solidworks, Solid Edge, Autodesk Fusion 360, etc over the years for CAD, as well as Blender, Maya, Autodesk 3DSMax.

The downside of Solidworks for Makers is they watermark their files, so you can open a file made in SWFM in SWFM, and a file made in SW, but not a file made in SWFM in the standard SM.

The underside of a miter saw. There's a metal bar sliding into the mentioned plastic piece. A spring can be seen pressing between the plastic and a washer.
The part I modeled in light grey, with the detent shaft in place.